Regular price £14.99
Free Next Day Delivery
Buy direct from the makers
UK Customer Support
Support
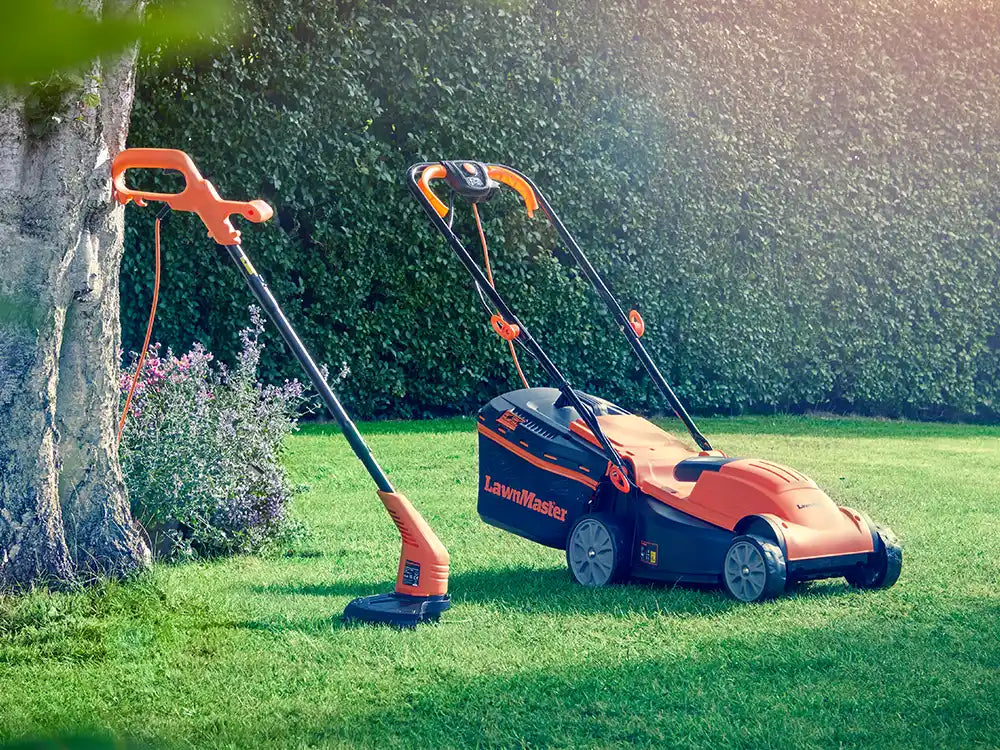
MEH1533 COMBO
Learn how to set up and use your garden set with instruction manuals, user guides and FAQs.

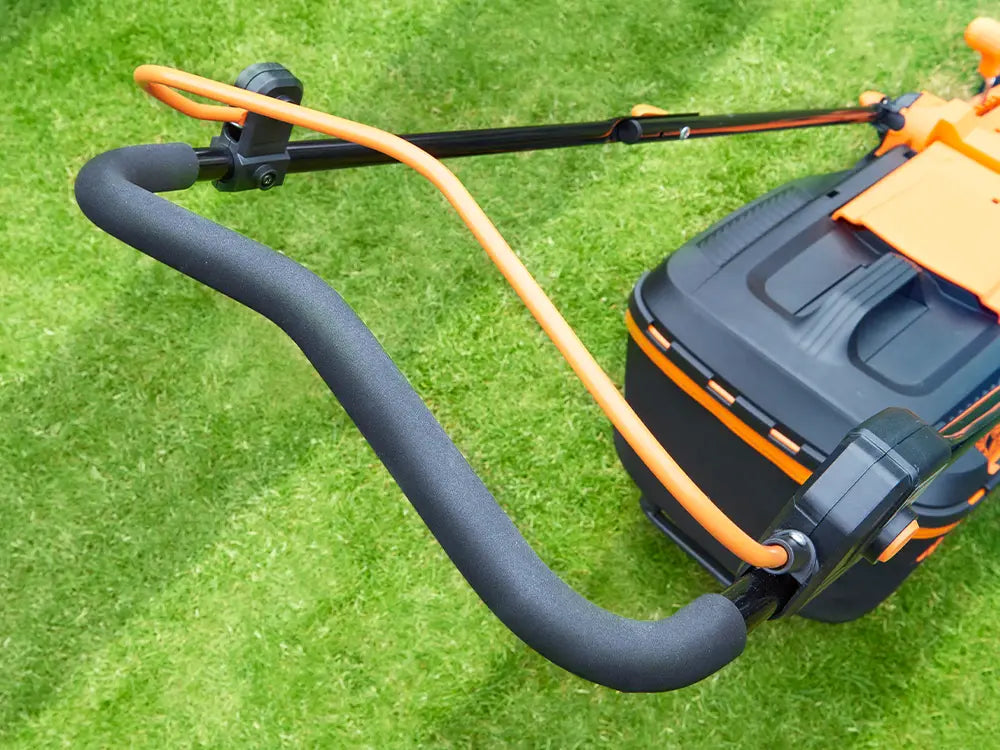
Assembling the Lower Handle
1. Insert the lower handles into the slots on the deck. Push down the lower handles until the screw holes are aligned.
2. Secure the lower handles with the screws provided.
Assembling the Upper Handle
1. Align the screw holes on the upper and lower handles. Press the upper handle to snap it into the groove.
2. Secure the upper handle and lower handle with the wing knobs, washers and bolts.
3. Secure the control cable against the handle frame with the supplied cable clips.
The adjustment spanner can be easily stored on the lower handle cross bar.
Setting Up Your Preferred Cutting Height
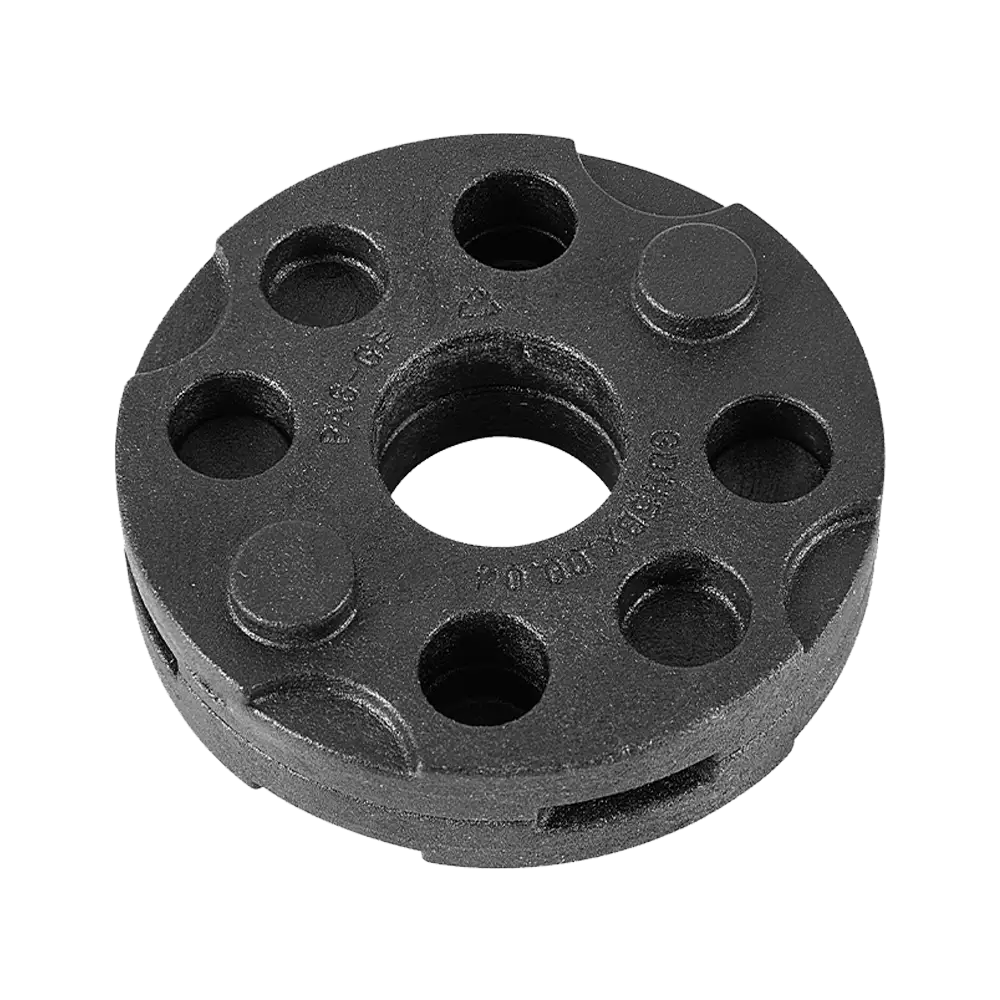
The mower comes with one spacer pre-fitted and can be set to 4 cutting heights between 12mm and 33mm. Spacers provide the following approximate cutting heights. 0 spacer = 33mm, 1 spacer = 26mm, 2 spacers = 19mm, 3 spacers = 12mm.
Choose the appropriate cutting height according to the condition of your grass.
Watch the video below to see how to change the cutting height of your LawnMaster hover mower:
Assembling the Handle Shafts
1. Insert the upper and lower handle shafts securely into the middle handle shaft and ensure they are fully engaged and locked into position.
Fitting the Safety Guard
1. Place the safety guard over the trimmer head and onto rear of the motor housing. Make sure the markings on the guard and the trimmer head are aligned.
2. Rotate the guard along the support grooves following the directional arrow into the correct location. Make sure the screw holes on the guard and the trimmer head are aligned.
3. Secure the guard with 1 screw provided using a Phillips screwdriver.
Edging and Trimming
Learn how to switch your grass trimmer from edging to trimming mode with this quick video guide:
Hover Mower Maintenance:
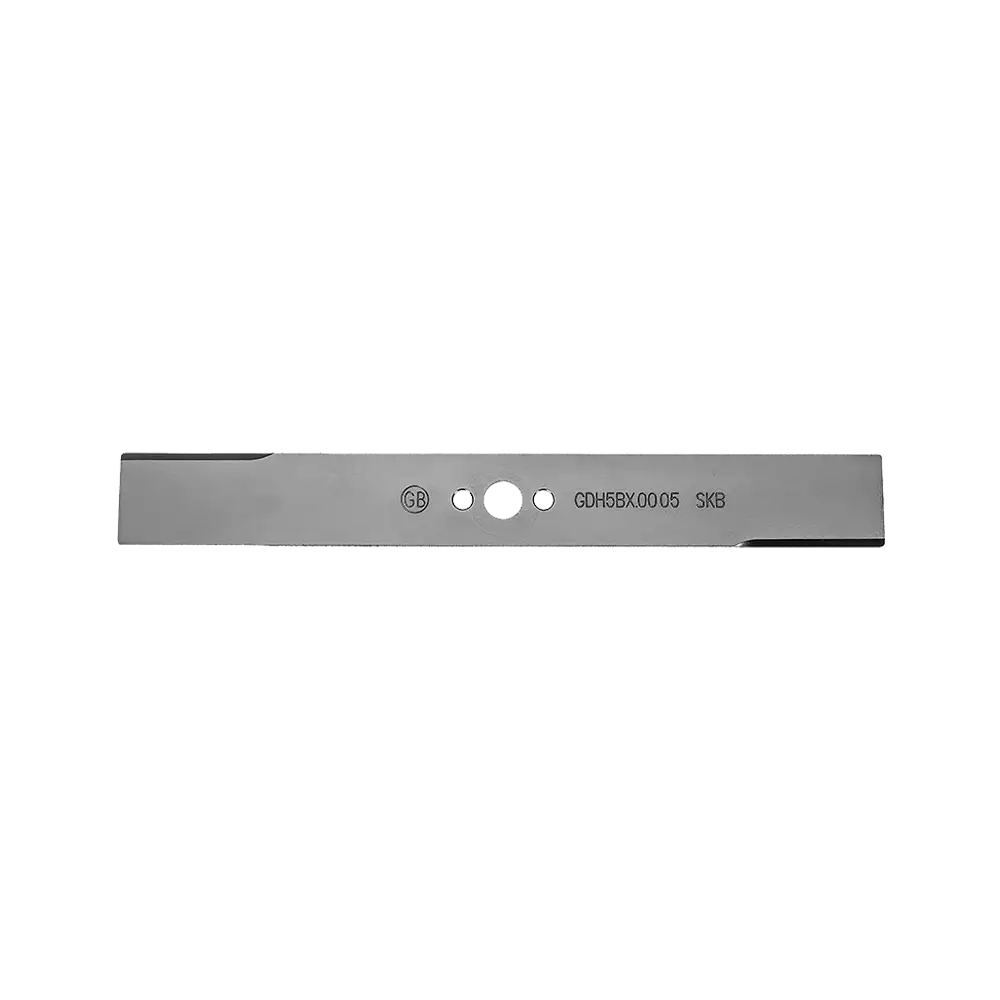
Your LawnMaster 33cm hover mower collect blade needs to be regularly checked, cleaned and sharpened to preserve the cutting performance of your mower and encourage healthy grass growth. If the blade becomes damaged, we always recommend changing it. It's quick and easy to do.
Follow the step by step video below to see how to change your LawnMaster hover mower blade.
Grass Trimmer Maintenance:
Watch the video below to learn how to replace the spool and line on your LawnMaster grass trimmer.
Genuine LawnMaster accessories and spare parts for your machine.
Regular price £14.99

Regular price £12.99
Regular price £4.99

Regular price £4.99
We stock a wide range of spare parts if you'd like to repair your machine, rather than replace it. If you can't find the part you are looking for in the accessories section above, please get in touch with us. For safety, certain parts may not be available individually, but as part of a combined unit.
FAQ
Using the Mulch Mode
Switching your mower to mulch mode stops the mower from collecting the cut grass and instead deposits the clippings onto the lawn surface. The clippings drop to the soil level and degrade, returning nutrients back to the lawn and the grass roots. Keeping your lawn healthy.
Mulch mode is especially good at tackling long grass.
When tackling longer grass, cut the grass once in mulch mode then cut the lawn again in collect mode. This is easier and faster than trying to cut and collect very long grass in one go.
Mulching works best when grass is cut frequently because this will produce smaller grass clippings that more easily drop to the soil level and degrade returning nutrients back to the lawn and the grass roots.
N.B. In dense grass growth, mow the grass using half the available width of your lawn mower, this will reduce load on the lawn mower.
1. Rotate the Mulch Mode Selector switch anti-clockwise to select mulch mode and clockwise to return to collect mode.
2. In collect mode, airflow will be drawn into the collection chute at ground level, this collects the grass clippings as you mow.
3. In mulch mode this collection chute is closed off by the mulch flap and airflow enters through the now open mulch flap opening. This maintains the airflow for hover lift and prevents grass collection.
4. Grass clippings remain on the lawn when the mulch mode is selected and these clippings can be repeatedly cut by the blade.
The mower comes with one spacer pre-fitted and can be set to 4 cutting heights between 12mm and 33mm. Choose the appropriate cutting height according to the condition of your grass.
Watch the video below to see how to change the cutting height of your LawnMaster hover mower:
An unbalanced blade will cause excessive vibration when the mower is running. Left unresolved, this vibration could eventually damage the mower's motor.
To check the blade balance:
1. Clamp a screwdriver horizontally in a vice. If you don't have a vice, use a straight nail instead.
2. Place the centre hole of blade over the screwdriver (or nail).
3. If blade is balanced, it will remain in a horizontal position. If either end of the blade drops downward, sharpen the heavy side until the blade is balanced. Or replace the blade.
4. Always check that the blade bolt is tight and re -tighten if it is loose.
This can be caused by a build up of grass clipping on the underside of the hover mover deck, causing it to clog.
Check underneath the mower and scrape off the dried mulch with the plastic scraper supplied with the mower.
The air vents may be blocked with grass trimmings. Clean the air vents to restore performance.
This could be one of three reasons:
1. The line spool is dirty. Check and clean if it is.
2. The spool is defective. Replace the spool if it is defective. Watch the video in the maintenance section above to see how.
3. There is a problem with the motor. Please contact us.
1. Check to see if the trimmer line is worn or damaged, and replace if it is.
2. There is insufficient line. Release more line.
3. The trimming lines are not guided out of the spool correctly. Remove the line spool and rethread the trimming lines through the eyelets. Check the line ends are not held in the parking slots on spool.
Replace the spool if necessary.
Learn
3 Min Read
4 Min Read

3 Min Read
Support
We’re here to empower you with the knowledge and solutions to make the most of your machine, and to support you when you just need a helping hand. Our friendly, UK based, customer service team are here to help.
This LawnMaster appliance, spare parts and accessories carry a 2-year guarantee.
Free and Fast Delivery:
We offer free delivery on all UK mainland orders* and free next working day delivery on all orders that include an appliance.
Orders for spare parts and accessories are despatched via a 48hr standard delivery service.
* Delivery charges apply for addresses in the Channel Islands, Northern Ireland, Isle of Scilly and Man.
Returns:
We hope that you are happy with your purchase but if that's not the case, unused, undamaged products can be returned for a refund within 30 days of receipt.
Our aim is to keep it personal. Our friendly UK based customer service team are there if you need a helping hand.
Sign up to our mailing list and get 10% off your next purchase, plus access to exclusive benefits including: