Regular price £16.99
Free Next Day Delivery
Buy Direct from the Makers
UK Customer Support
Support
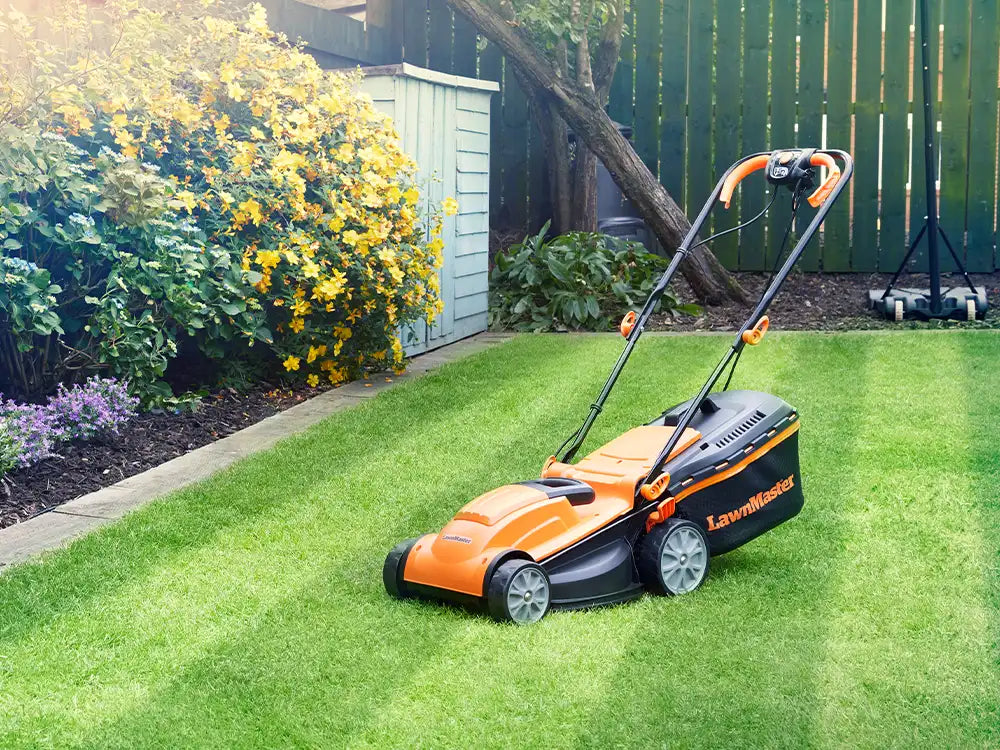
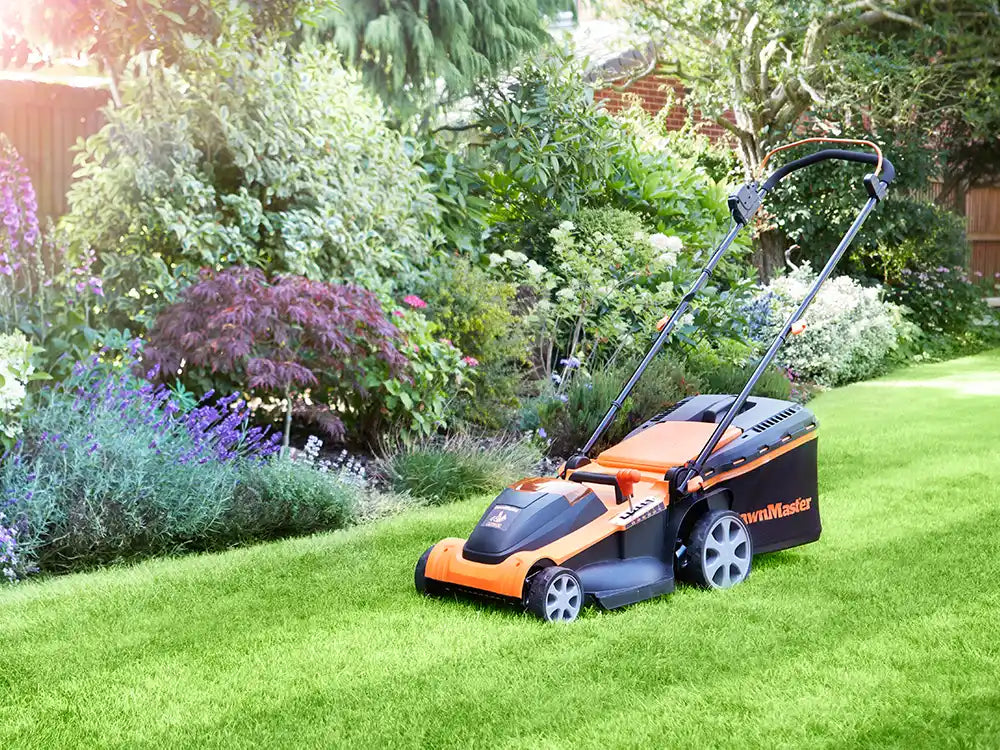
MEB1840M COMBO
Learn how to set up and use your garden set with instruction manuals, user guides and FAQs.

Assembling the Lower Handle
1. Unfold the lower handle and adjust to the desired operating position.
2. Rotate the wing knobs clockwise to tighten.
NOTE: Pay attention to the power cable before tightening the knobs to avoid getting it entangled or pressed between the lower handle and deck.
Assembling the Upper Handle
1. Align the upper handle and lower handle and secure with the wing knobs and bolts.
Rotate the wing knobs clockwise to tighten.
2. There are two possible height positions. Choose the one most suitable for you.
Assembling the Grass Collection Bag
1. Insert the handle into the slots on the grass collection bag top.
2. Fully insert the rods of the metal frame into the slots on either side of the plastic base of the grass collection bag.
3. Secure the metal support rods into the fixing position on either side of the grass collection base. Ensure the side clamping sleeves are properly fixed onto the metal support frame.
N.B. There is a hole in the bottom of the grass collection bag to hang it up if required.
Assembling the Handle Shafts
1. Insert the upper and lower handle shafts securely into the middle handle shaft and ensure they are fully engaged and locked into position.
Fitting the Safety Guard
1. Place the safety guard over the trimmer head and onto rear of the motor housing. Make sure the markings on the guard and the trimmer head are aligned.
2. Rotate the guard along the support grooves following the directional arrow into the correct location. Make sure the screw holes on the guard and the trimmer head are aligned.
3. Secure the guard with 1 screw provided using a Phillips screwdriver.
Edging and Trimming
Learn how to switch your grass trimmer from edging to trimming mode with this quick video guide:
Lawn Mower Maintenance:
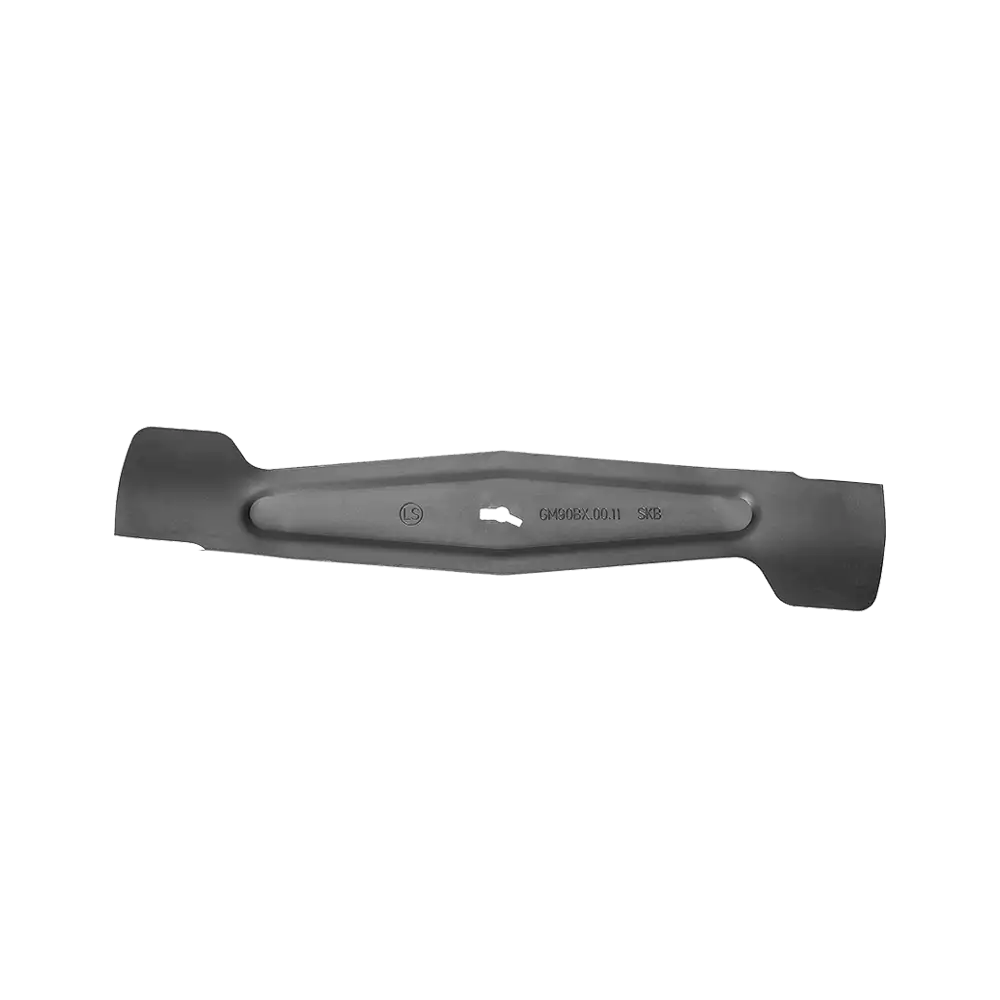
Your LawnMaster 1800W 40cm electric lawn mower blade needs to be regularly checked, cleaned and sharpened to preserve the cutting performance of your mower and encourage healthy grass growth. If the blade becomes damaged, we always recommend changing it. It's quick and easy to do.
Follow the step by step video below to see how to change your lawn mower blade.
Grass Trimmer Maintenance:
Watch the video below to learn how to replace the spool and line on your LawnMaster grass trimmer.
Genuine LawnMaster accessories and spare parts for your machine.
Regular price £16.99

Regular price £12.99

Regular price £19.99
We stock a wide range of spare parts if you'd like to repair your machine, rather than replace it. If you can't find the part you are looking for in the accessories section above, please get in touch with us. For safety, certain parts may not be available individually, but as part of a combined unit.
FAQ
Your LawnMaster 1800W electric lawn mower came supplied with a mulching plug for when you want to leave the cut grass clippings on your lawn to act as a nutrient.
To install the mulching plug:
1. Lift the deflector guard and detach the grass collection bag.
2. Lift and hold the deflector guard up with one hand.
3. With other hand grasp the mulching plug by its upright handle and insert the plug into the rear discharge chute.
Ensure that the locking latch snaps into place.
4. Release the deflector guard back into position during operation.
1. Check to see that the blade has been installed correctly. The blade wings should be facing up away from the ground.
2. If the ground is uneven, raise the cutting height of the mower.
3. Check to see if the blade is blunt: follow this guide for how to tell if its time to change your blade.
4. The underside of the deck may be blocked with compacted grass clippings. Scrape them off if this is the case and clean around the blade.
This can happen if the steel blade has been damaged.
1. Stop the motor, disconnect the power source, and inspect the blade. If the blade is worn replace it.
2. If the blade is in good condition, check the tightness of the blade screw and re-tighten if necessary.
The air vents may be blocked with grass trimmings. Clean the air vents to restore performance.
This could be one of three reasons:
1. The line spool is dirty. Check and clean if it is.
2. The spool is defective. Replace the spool if it is defective. Watch the video in the maintenance section above to see how.
1. Check to see if the trimmer line is worn or damaged, and replace if it is.
2. There is insufficient line. Release more line.
3. The trimming lines are not guided out of the spool correctly. Remove the line spool and rethread the trimming lines through the eyelets. Check the line ends are not held in the parking slots on spool.
Replace the spool if necessary.
Learn
3 Min Read
2 Min Read
3 Min Read
Support
We’re here to empower you with the knowledge and solutions to make the most of your machine, and to support you when you just need a helping hand. Our friendly, UK based, customer service team are here to help.
This LawnMaster appliance, spare parts and accessories carry a 2-year guarantee.
Free and Fast Delivery:
We offer free delivery on all UK mainland orders* and free next working day delivery on all orders that include an appliance.
Orders for spare parts and accessories are despatched via a 48hr standard delivery service.
* Delivery charges apply for addresses in the Channel Islands, Northern Ireland, Isle of Scilly and Man.
Returns:
We hope that you are happy with your purchase but if that's not the case, unused, undamaged products can be returned for a refund within 30 days of receipt.
Our aim is to keep it personal. Our friendly UK based customer service team are there if you need a helping hand.
Sign up to our mailing list and get 10% off your next purchase, plus access to exclusive benefits including: