Regular price £19.99
Free Next Day Delivery
Buy Direct from the Makers
UK Customer Support
Support
CLGT2425S-01
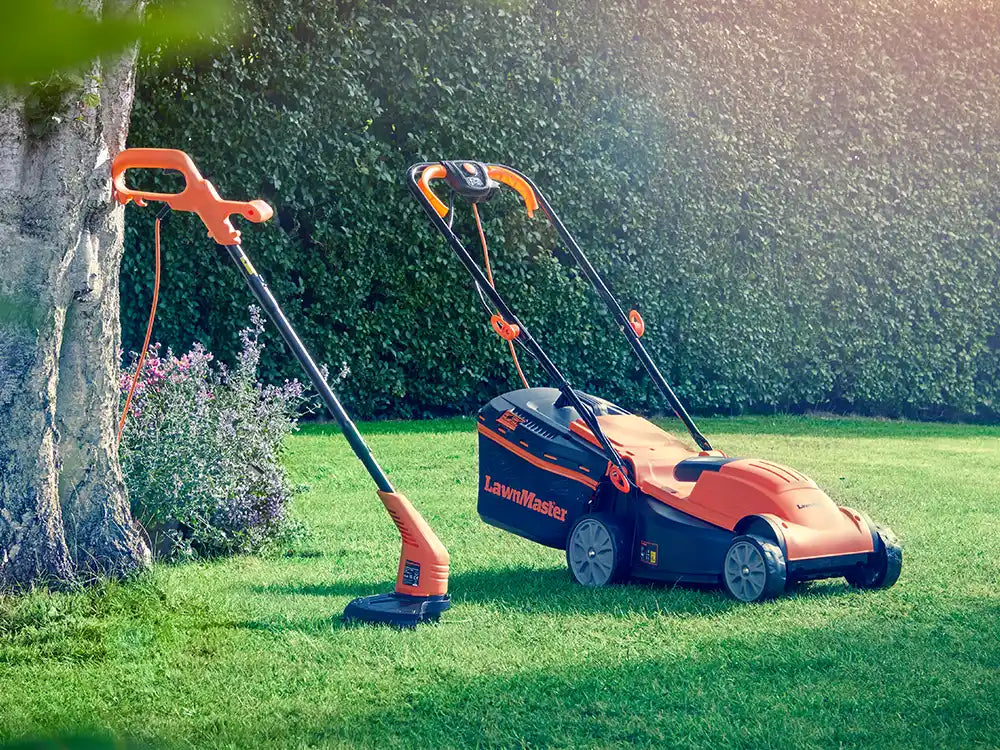
Learn how to set up and use your grass trimmer with instruction manuals, user guides and FAQs.

Fitting the Safety Guard
1. Position the safety guard over the trimmer head and onto rear of the motor housing.
2. Secure the guard with the screws provided using a screwdriver.
Attaching the Auxiliary Handle
3. Loosen the quick release knob by turning it anti-clockwise and remove it from the auxiliary handle.
4. Pull the ends of the auxiliary handle to extend the handle and slide it over the handle holder.
5. Insert the quick release knob and tighten clockwise by hand. To lock the auxiliary handle in place, fold the knob inwards using moderate force. If it feels too tight when folding in, turn it anti-clockwise to loosen. Do not use excessive force.
Supporting Wheels (Optional Use)
1. Loosen the wing knob anti-clockwise. Remove the wing knob and washer from the supporting wheels.
2. Put the supporting wheels onto the telescopic shaft.
3. Re-install the washer and the wing knob and tighten clockwise by hand to fix the supporting wheels.
NOTE: The position of the supporting wheels can be adjusted by loosening the wing knob and moving to the desired position. The supporting wheels can be moved to up and down the telescopic shaft depending on the height of cut required.
Cut taller grass in stages and remove the supporting wheels when cutting long grass.
Edging and Trimming
Learn how to switch your grass trimmer from edging to trimming mode with this quick video guide:
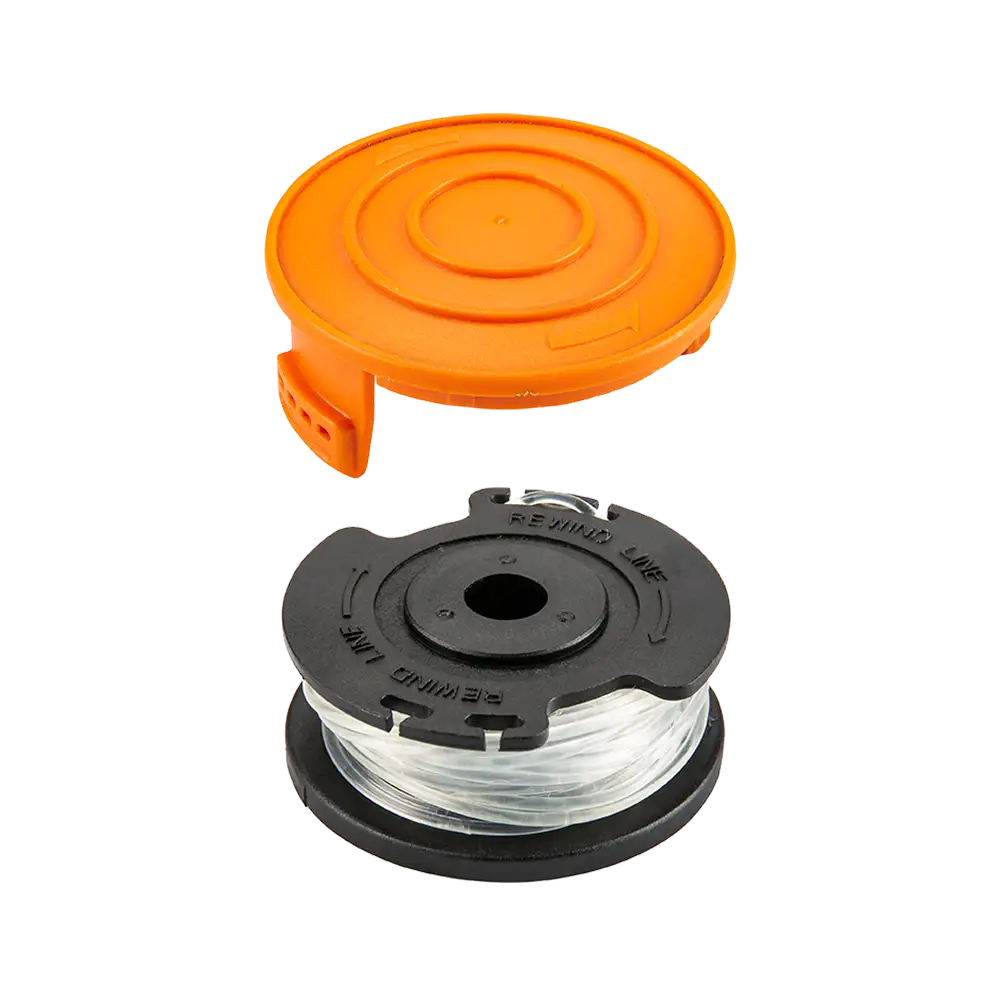
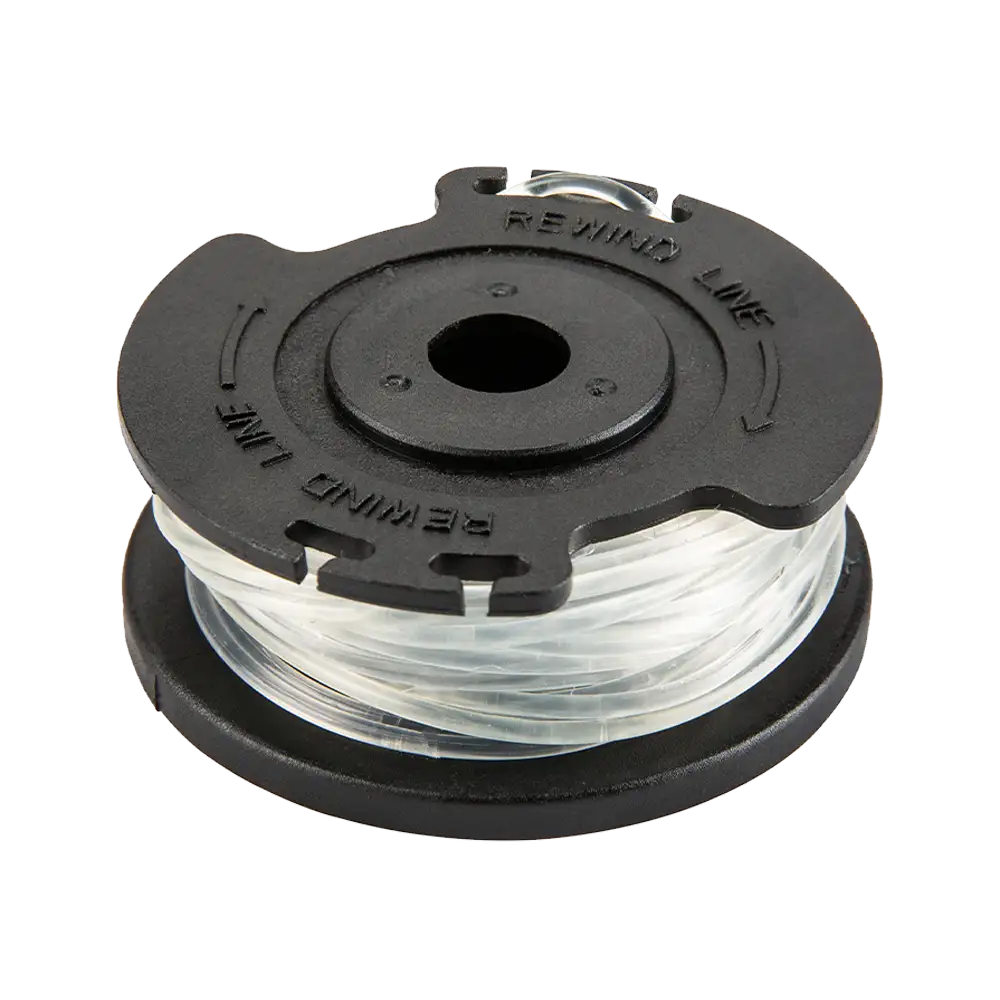
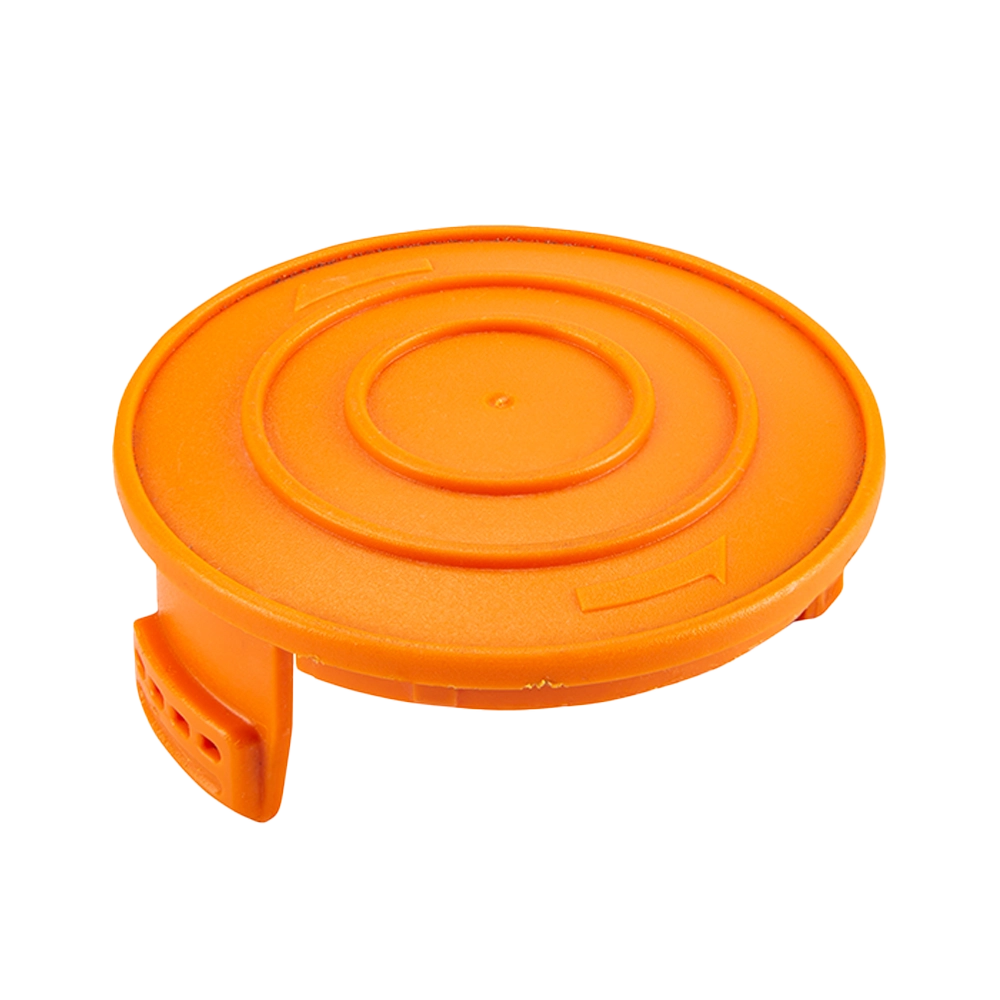
Replacing Trimmer Line:
Watch the video below to learn how to replace the spool and line on your LawnMaster grass trimmer.
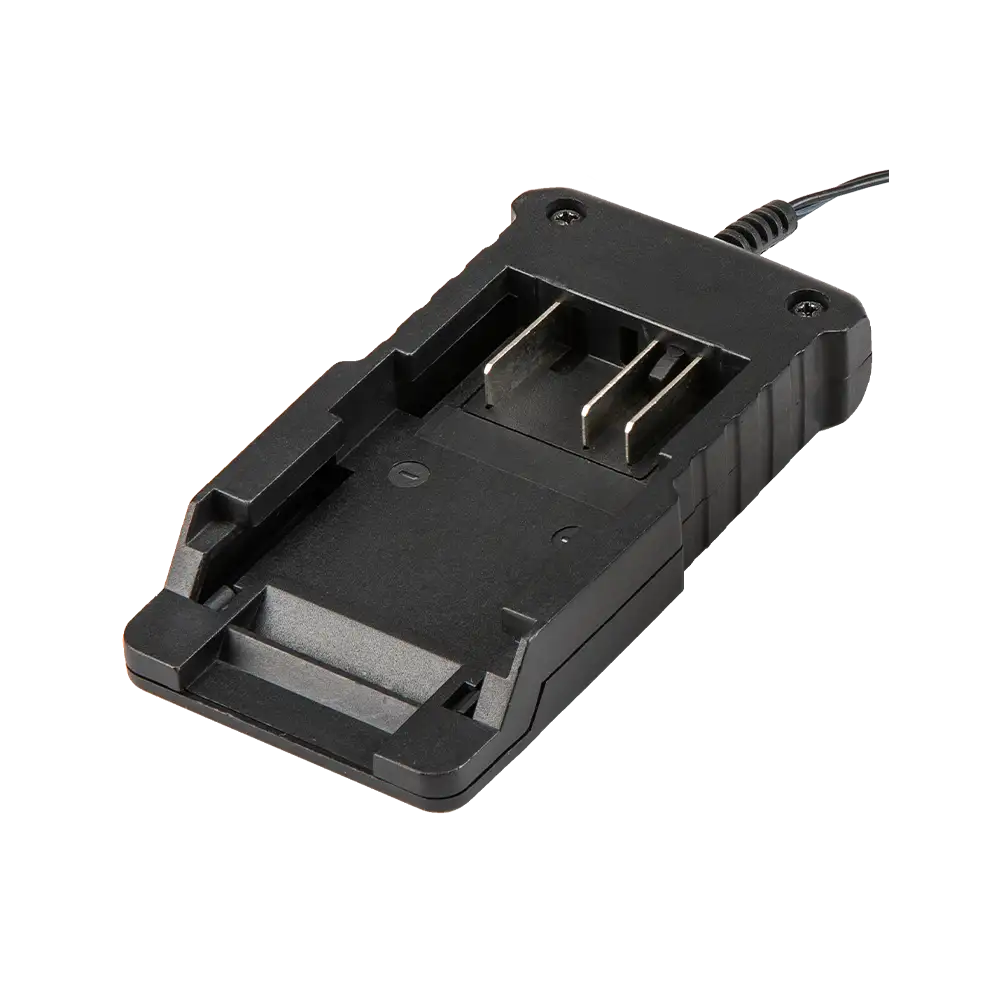
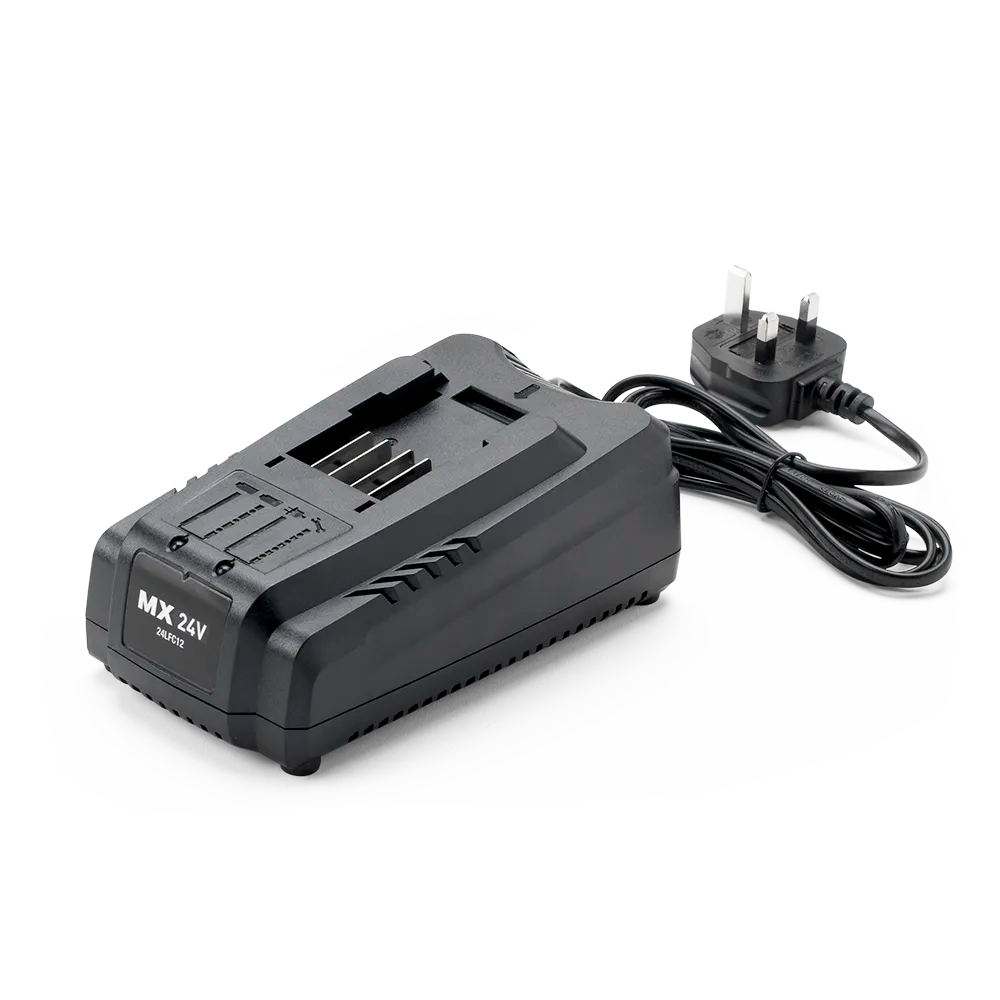
Battery and Charger Maintenance
1. Keep the battery and charger clean and clear of debris. Do not allow foreign material into the recessed cavity or on the contacts. Wipe with a dry cloth. Do not use solvents, water, or place in wet conditions.
2. Always unplug the charger when there is no battery in it.
3. Check that the charger and battery contacts have not been shorted by debris.
4. Always store away from metal objects which could create a connection with the terminals.
5. Always remove the battery when storing the blower and keep in a cool dry place out of direct sunlight.
6. Store the battery only within a temperature range between 0°C and 25°C.
7. We recommended storing the lithium-ion battery in a 30%-50% charged condition.
Genuine LawnMaster accessories and spare parts for your machine.
Regular price £19.99
Regular price £9.99

Regular price £14.99
Regular price £9.99

Regular price £39.99
Regular price £29.99
Regular price £39.99
Regular price £24.99
We stock a wide range of spare parts if you'd like to repair your machine, rather than replace it. If you can't find the part you are looking for in the accessories section above, please get in touch with us. For safety, certain parts may not be available individually, but as part of a combined unit.
FAQ
This trimmer is equipped with an automatic single line mechanism.
1. To release more line, start and stop the trimmer 2 - 3 times.
2. The trimming line extends automatically during every starting process.
N.B. For the correct operation of the automatic line extension mechanism, the spool must stop completely before you restart the trimmer. If the trimming line is initially longer than the cutting diameter, it is automatically shortened to the right length by the line cutting blade.
1. Switch off the trimmer and remove the battery.
2. Press the line release button (②), pull the end of the trimming line out and release line release button.
Avoid releasing a very long length of the trimming line.
A short or worn trimming line will not cut well. If you notice reduced cutting performance, check if there is enough trimming line on the spool.
1. Remove the battery before inspection.
2. If the line does not reach to the trimmer guard line cutting blade, release more line by starting and stopping the trimmer 2 - 3 times.
The trimming line extends automatically during every starting process. For the correct operation of the automatic line extension mechanism, the spool must stop completely before you restart the trimmer. If the trimming line is initially longer than the cutting diameter, it is automatically shortened to the right length by the line cutting blade.
To trim lawn edges, slowly move the appliance along the lawn edges.
1. Adjust the trimmer head angle to 90°.
2. Adjust the trimmer head position to 90°.
3. Keep the plant protector in storage position.
Learn
3 Min Read

3 Min Read
Support
We’re here to empower you with the knowledge and solutions to make the most of your machine, and to support you when you just need a helping hand. Our friendly, UK based, customer service team are here to help.
This LawnMaster appliance, spare parts and accessories carry a 2-year guarantee.
Free and Fast Delivery:
We offer free delivery on all UK mainland orders* and free next working day delivery on all orders that include an appliance.
Orders for spare parts and accessories are despatched via a 48hr standard delivery service.
* Delivery charges apply for addresses in the Channel Islands, Northern Ireland, Isle of Scilly and Man.
Returns:
We hope that you are happy with your purchase but if that's not the case, unused, undamaged products can be returned for a refund within 30 days of receipt.
Our aim is to keep it personal. Our friendly UK based customer service team are there if you need a helping hand.
Sign up to our mailing list and get 10% off your next purchase, plus access to exclusive benefits including: