Regular price £19.99
Free Next Day Delivery
Buy Direct from the Makers
UK Customer Support
Support
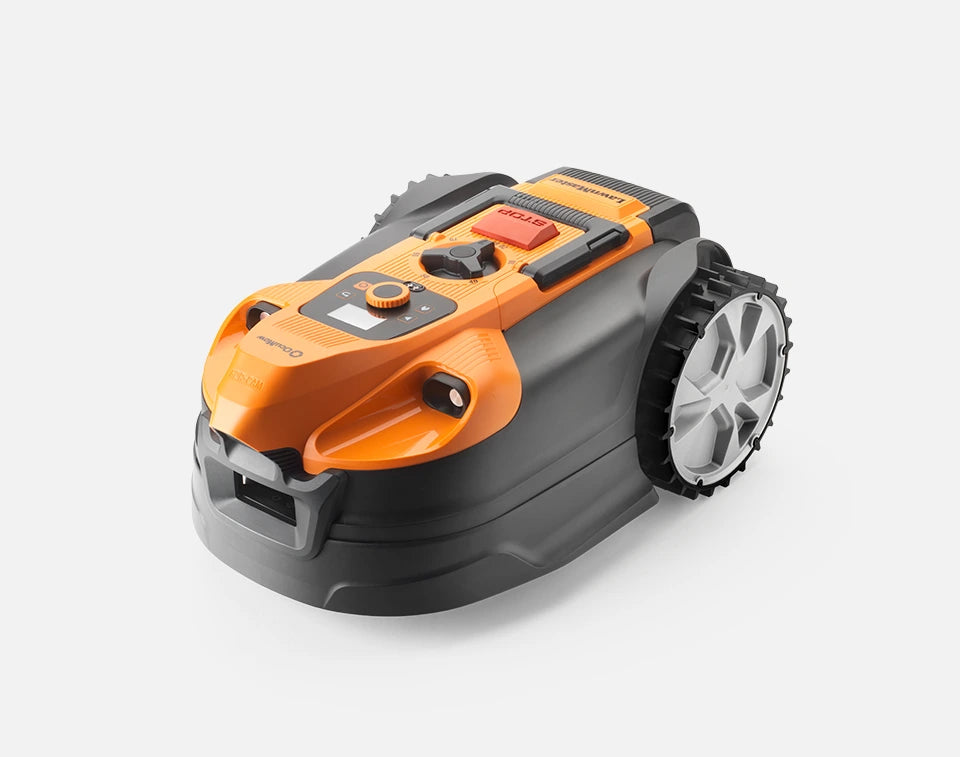
VBRM18AMDR-01
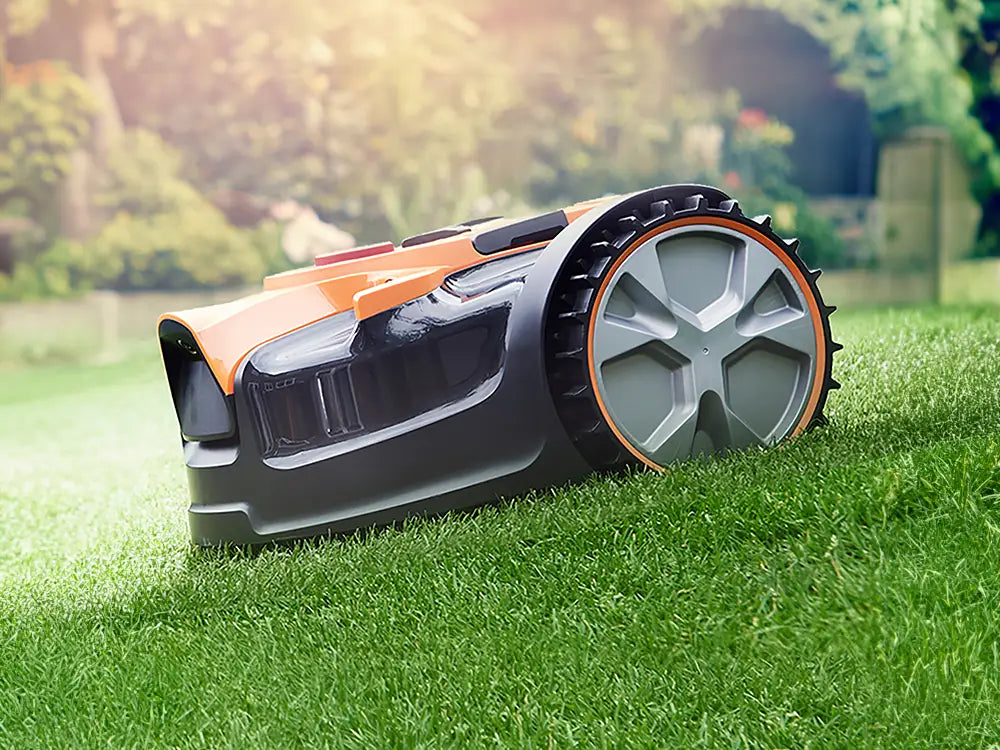
Discover all you need to know about the OcuMow® 18 robotic lawnmower and whether this is the right robot for your garden. Learn how to set up, use and update your robot with instruction manuals, user guides, videos and FAQs.
Video 1: What you need to know about how OcuMow® 18 navigates gardens.
Video 2: How to Install the LawnMaster OcuMow® 18 Autocharging Vision Robot Mower Plug-and-Play Charging Station.
Watch the videos above and/or use this quick set-up check list to make sure your mower is correctly set up and ready to go.
Ensure your charging station is positioned correctly. Check that:
1) The charging station is not on a slope. This may affect the way the mower identifies the orange guide strips on the charging station or cause the pivoting front wheel to change direction unexpectedly
2) The changing station is not in a corner. The mower will periodically mow around the sides and front of the charging station to keep it clear of grass. If the charging station is in a corner, it may not be able to complete this action without becoming stuck.
3) The charging station is positioned at 90 degrees to the edge of the lawn. Unlike some other robot mowers, the charging station should not be positioned parallel to the edge of the lawn. The entrance to the charging station should be facing into the lawn.
4)The back of the charging station is against the edge of the lawn. This will reduce any potential for uncut grass to grow around the power connection.
When you’re happy with the position of the charging station, put the mower on the charging station to charge and check that:
1) The mower date and time are correct. In order for the mower to mow according to the schedule, the time and date should be checked to ensure they match the local time.
2) The mower is set to your desired height of cut. Try not to cut the grass too short too quickly. Either mow it a shorter length using a push mower first or select a higher height of cut on the robot mower and reduce it gradually over the course of one to two weeks.
3) The mower is successfully connected to the GPS signal. The mower uses GPS to find the approximate location of the charging station. This may take a few minutes and will happen automatically as the mower sits on the charging station and charges for the first time.
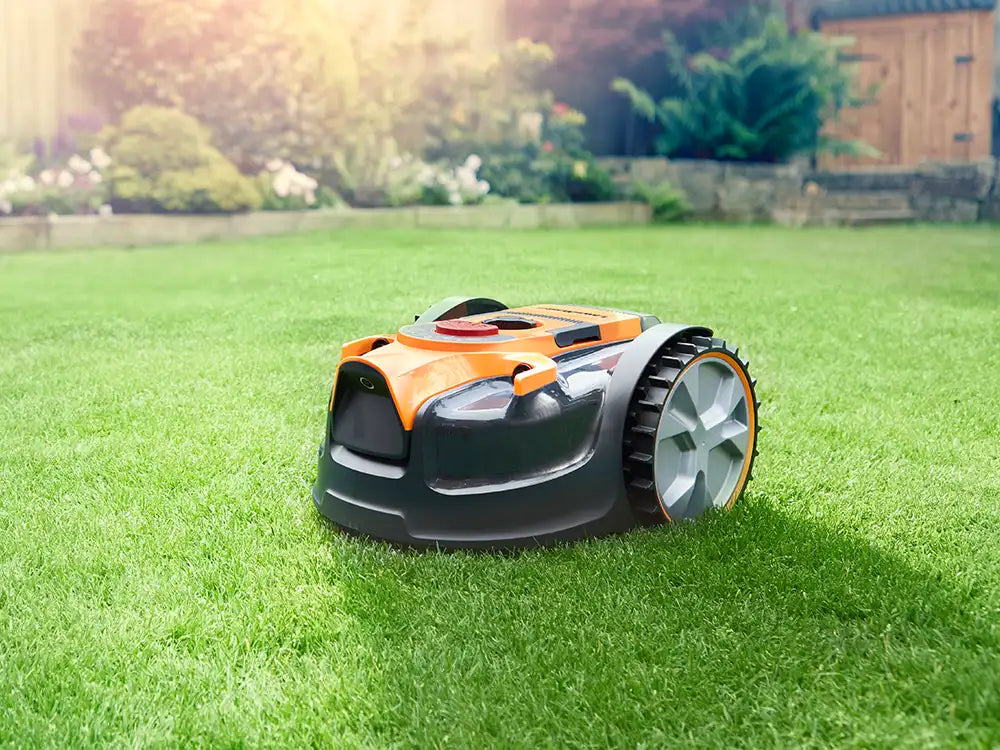
Watch the video below and/or follow the steps below to learn how to operate your LawnMaster OcuMow® 18 Autocharging Vision Robot Lawnmower. Including how to set or change the cutting schedule, and how to switch to Drop & Mow mode for additional lawns or one-off mows.
1) Press the selection dial in the centre of the control panel to access the main menu. Rotate the dial to scroll across the menu and press it to select menu options.
2) Schedule Mode: Use this mode to keep on top of your main lawn and let OcuMow go out according to a set schedule. Set OcuMow 18 to mow as little or as often as you like. For smaller gardens, the mower will need less time to maintain the lawn.
3) Use Drop and Mow (Main Area) if you want to mow the main lawn without changing the schedule. Perfect for one-off mows in between scheduled mowings, or for when you’d rather send the mower out yourself than let it go out automatically. The mower finds its own way back to the charging station.
4) Use Drop and Mow (Other Area) if you want to mow another lawn, for example a front lawn, side lawn or lawn at another property. The mower will wait in standby mode when the battery needs recharging.
How to Operate LawnMaster OcuMow® 18 Autocharging Vision Robot Mowers:
For the best performance and latest features, keep your OcuMow® 18 robot mower firmware up to date.
We don’t have any firmware updates available right now. Please check back later.
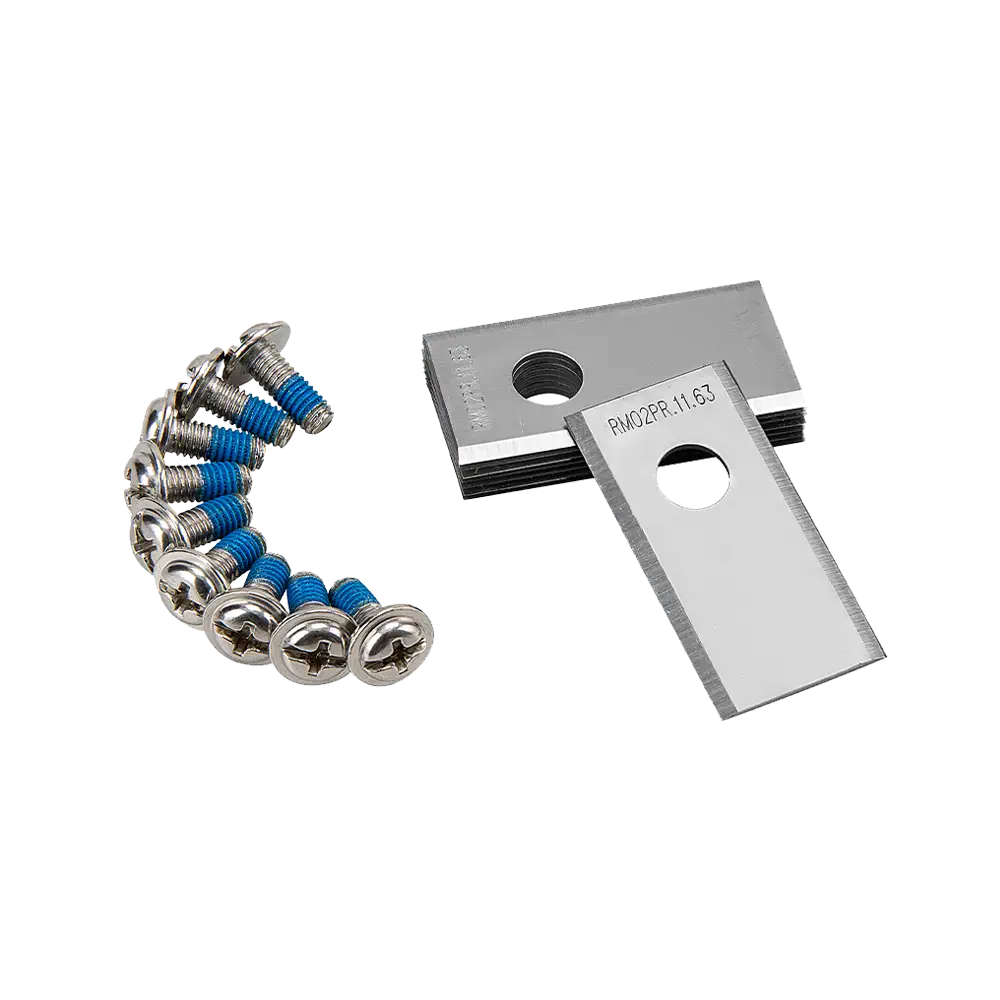
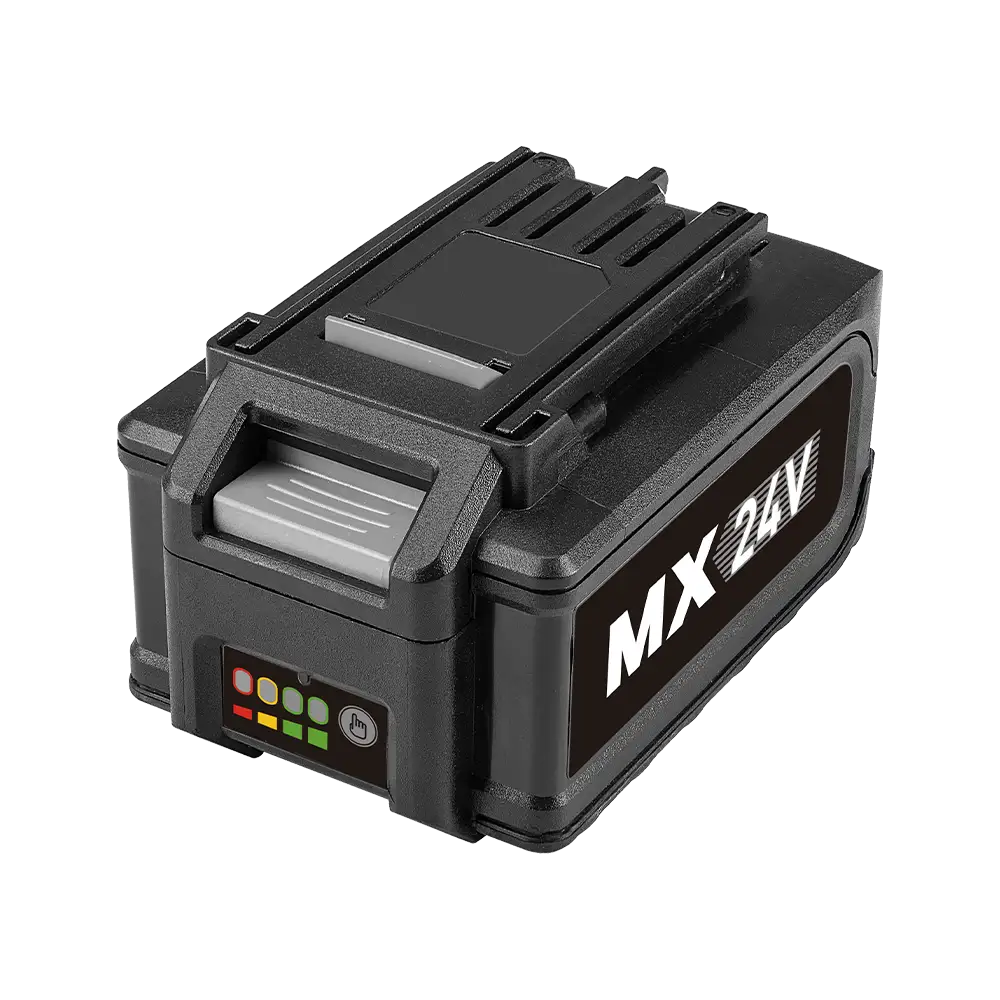
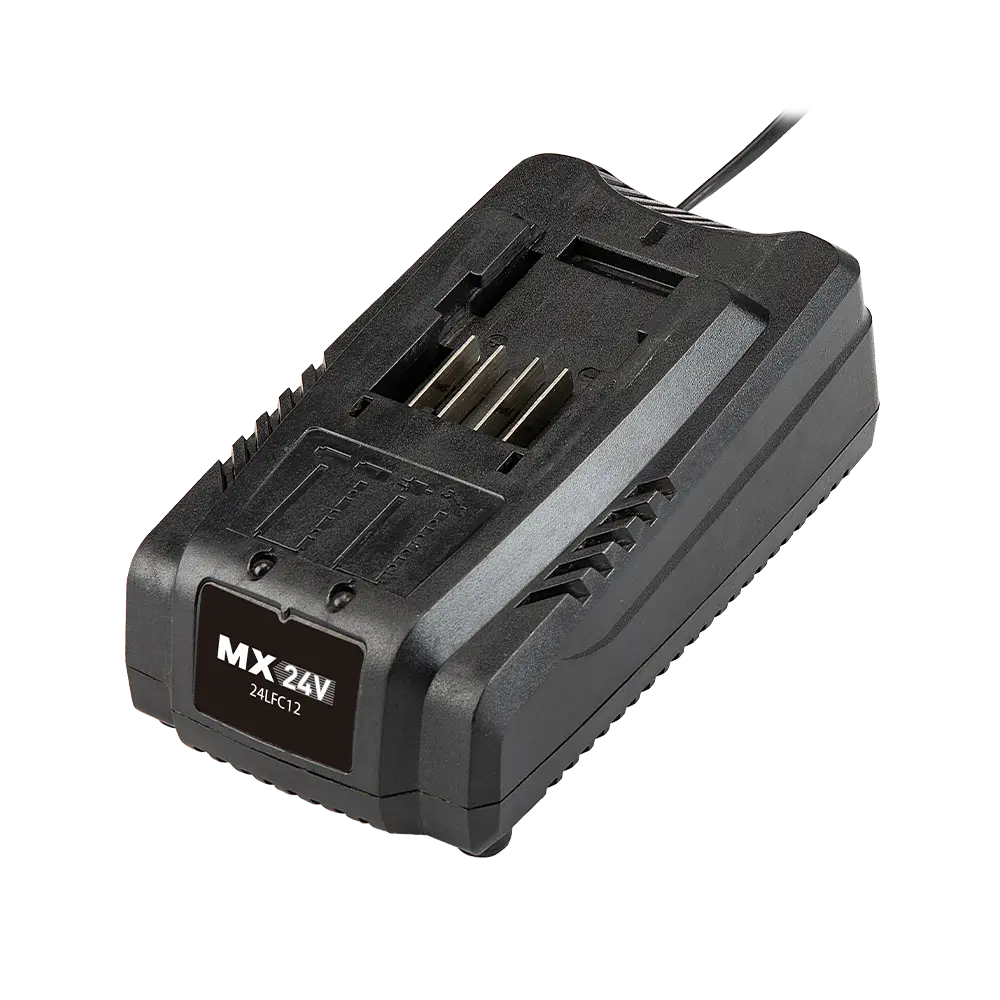
Genuine LawnMaster accessories and spare parts for your machine.
Regular price £19.99
Regular price £59.99
Regular price £39.99
We stock a wide range of spare parts if you'd like to repair your machine, rather than replace it. If you can't find the part you are looking for in the accessories section above, please get in touch with us. For safety, certain parts may not be available individually, but as part of a combined unit.
FAQ
Time and Date: Please ensure that the time and date are set correctly according to the local time zone. Please note that the mower can only work during daylight hours. The mower will dock automatically between sunset and sunrise. If the scheduled time you have selected falls outside of the sunrise and sunset times shown at the top of the schedule screen, the mower may not operate for the full duration of the schedule.
Rain Sensor: Rain may disrupt the schedule if the rain sensor is activated. Allow the rain sensor to dry or turn off the rain sensor.
Mower is on Standby: If the mower was sent home using the “Home” button or stop button was pressed while the mower was on the charging station to pause charging, the mower will be on standby and will not resume the schedule. Please restart the mower from the charging station when you are ready for it to resume a schedule.
This can occur in the first week or two of running a random pattern mower, however this will even out over time to leave a beautiful finish and healthy grass. To make uncut grass much less obvious from first install, it is advisable to first cut the grass with a push lawnmower to the desired length, then let the robot maintain it. If this is not possible, it is recommended to raise the robot mower height of cut to lightly trim the grass. The height of cut can be reduced daily over a period of one to two weeks until the grass is the desired length.
It is not advisable to cut more than 20mm of the grass length with the robot mower (e.g. do not try to cut 60mm long grass down to 20mm). This will affect the battery run time and cause build-up of grass clippings on the underside of the mower. The lawn may also look uneven. As the mower becomes established in a schedule, the grass will become a uniform length.
Please check that the charging station is set up according to checklist in section 2 above. Ensure that the orange strips are clearly visible to the mower. Ensure the charging station is set up on flat ground. If the charging station is set up on a slope, this may affect the visibility of the orange strips. Ensure the charging station is positioned 90 degrees to the edge of the lawn, with the entrance to the station facing into the lawn.
This mower works best with visually distinctive borders. If your lawn has edges that are not visually distinctive, for example
1) borders which may have grass-like low growing plants
2) borders which have many weeds growing in them
3) mossy or weedy gravel or wood chippings
4) paths which have grass or weeds growing through gaps
The mower may mistake these areas for lawn and try to mow in these areas. Try to ensure that paths and borders are free from weeds and have a clear contrast or raised edge. OcuMow 18 is supplied with 10m of magnetic No Go strip which can be used to prevent the mower entering certain areas. Use the magnetic strip in areas which may be identified as lawn.
Learn
5 Min Read

3 Min Read
3 Min Read
Support
We’re here to empower you with the knowledge and solutions to make the most of your machine, and to support you when you just need a helping hand. Our friendly, UK based, customer service team are here to help.
This LawnMaster appliance, spare parts and accessories carry a 2-year guarantee.
Free and Fast Delivery:
We offer free delivery on all UK mainland orders* and free next working day delivery on all orders that include an appliance.
Orders for spare parts and accessories are despatched via a 48hr standard delivery service.
* Delivery charges apply for addresses in the Channel Islands, Northern Ireland, Isle of Scilly and Man.
Returns:
We hope that you are happy with your purchase but if that's not the case, unused, undamaged products can be returned for a refund within 30 days of receipt.
Our aim is to keep it personal. Our friendly UK based customer service team are there if you need a helping hand.
Sign up to our mailing list and get 10% off your next purchase, plus access to exclusive benefits including: