- Offers Available
Regular price £13.99
Free Next Day Delivery
Buy Direct from the Makers
UK Customer Support
Support
VDK1430SFC-01L
Learn how to set up and use your robot with instruction manuals, user guides and FAQs.

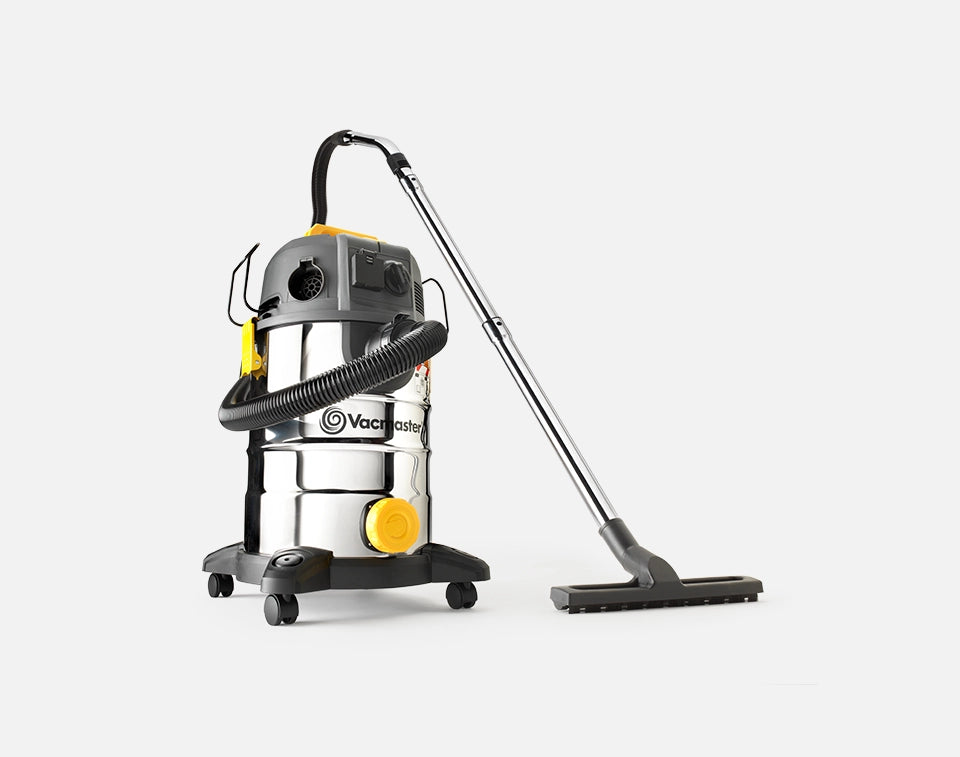
1) Remove all the contents from inside of the vacuum cleaner container.
2) Attach the carry handle into the slots located on the top of the power head.
3) Turn the container upside down and insert the feet with casters into the slots and apply pressure until they click into place. Secure them with supplied screws.
4) To position the hose storage rack, insert one end into the channel on the side of the power head, making sure it is secured in place. Apply inward pressure to the other side and insert it into the opposite channel.
5) Your vacuum cleaner comes ready for dry vacuum cleaning with the cartridge filter pre-installed.
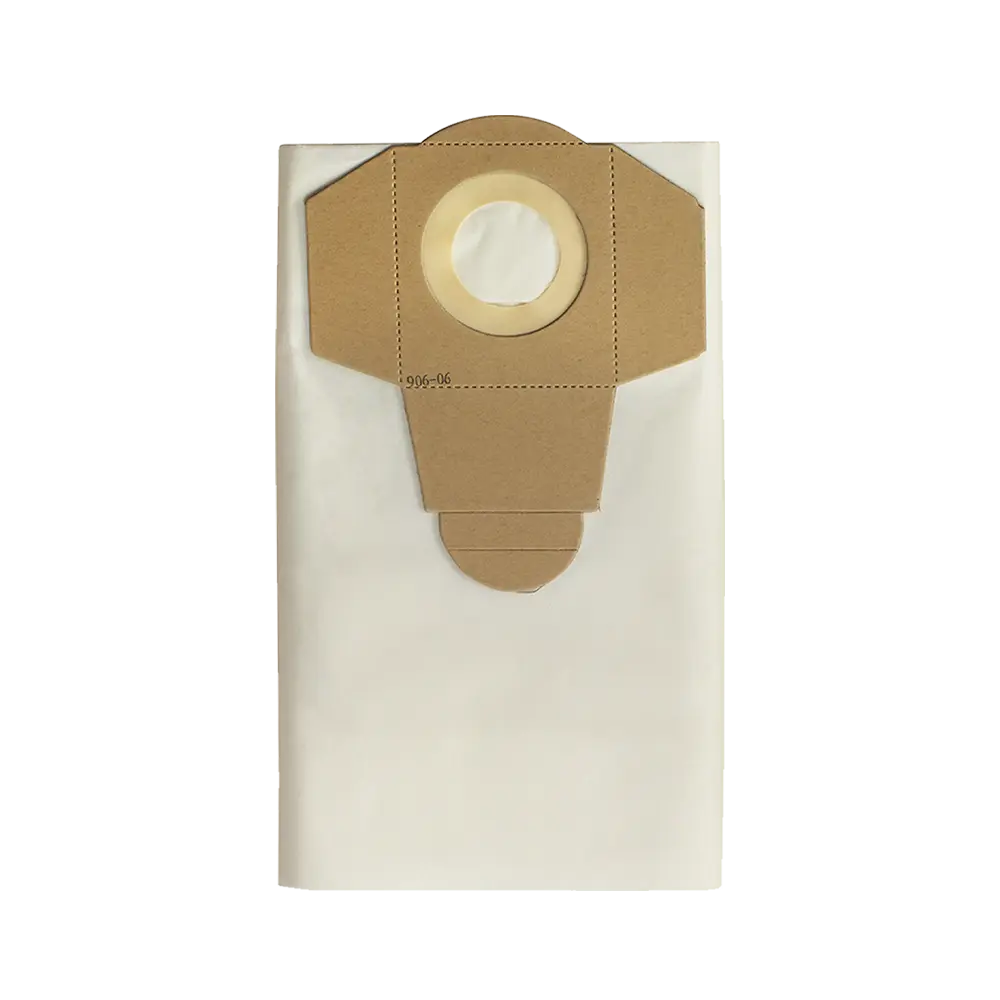
6) Optionally, for improved dust filtration, fully fit the dust bag flange onto the inlet stub.
7) For wet vacuum cleaning, replace the cartridge filter with the foam filter supplied. Do not use a dust bag when wet vacuuming.
8) Secure the power head back on the container using the latches. Insert the locking end of the hose into the suction port of the container. Ensure the push clip is securely positioned.
9) Choose the desired accessories and/or extension wands and push fit onto the hose nozzle.
Floor Nozzle Attachments
The floor nozzle comes supplied with additional attachments to ensure correct suction across
different floor surfaces and applications.
1) To remove the floor nozzle attachments, turn the floor tool holder upside down.
2) Using a flathead screwdriver or other suitable tool, locate the holding clips on each outer edge. Insert a flat edged object directly next to the holding clip, between the insert and the floor tool holder. Pry the attachment up from underneath.
3) Insert the new attachments into the holder applying downwards pressure.
4) The attachments can be used in three combinations:
Brush and Squeegee Combination: For use with mixture of wet or dry liquids.
Dual Brush Combination: For use with dry materials or carpeted floor surfaces.
Dual Squeegee Combination: For use on hard floor with wet liquids
Note: The textured side of the rubber squeegee must be facing outwards.
General Maintenance
1) Keep all safety devices, air vents and the motor housing free of dirt and dust. Use a soft, dry brush to clean the equipment regularly.
2) Clear all dirt or debris from the collection tank after each use. Allow to dry before replacing the power head. Do not use cleaning agents or solvents; these may damage the appliance.
3) Check the hose, attachments, and power cord to verify that they have not been damaged or any debris is trapped and blocking airflow.
Cleaning Cartridge Filter
Remove the filter and clean by gently tapping or brushing off dirt. For optimal performance it is recommended to replace the old filter with a new filter regularly.
Cleaning Foam Filter
Remove the foam filter and use a mild soap and water solution to wash and rinse with clean water. Allow filter to air dry before installing and using again.
Genuine Vacmaster accessories and spare parts for your machine.
We stock a wide range of spare parts if you'd like to repair your machine, rather than replace it. If you can't find the part you are looking for in the accessories section above, please get in touch with us. For safety, certain parts may not be available individually, but as part of a combined unit.
FAQ
This can be caused by:
1. Power tool wattage is not compatible with the power tool take-off socket. Check the wattage is compatible with the power tool take-off socket.
2. Incorrect operating mode selected. Ensure the switch is moved into position II.
This can be caused by:
1) No power. Check the power supply and fuse.
2) Functional fault in the power cord, switch, or motor. Have the damaged part checked by qualified personnel or contact the customer care team.
This can be caused by:
1) The cartridge filter is missing or damaged. Put in a cartridge filter or replace it.
2) Misuse of the cartridge filter when wet vacuuming, causing the damage of cartridge filter. Replace the damaged cartridge filter with a new one when dry vacuuming.
3) Misuse of the foam filter when dry vacuuming. Replace the foam filter with the cartridge filter.
Learn
Support
We’re here to empower you with the knowledge and solutions to make the most of your machine, and to support you when you just need a helping hand. Our friendly, UK based, customer service team are here to help.
This Vacmaster appliance comes with a 1-year guarantee.
Free and Fast Delivery:
We offer free delivery on all UK mainland orders* and free next working day delivery on all orders that include an appliance.
Orders for spare parts and accessories are despatched via a 48hr standard delivery service.
* Delivery charges apply for addresses in the Channel Islands, Northern Ireland, Isle of Scilly and Man.
Returns:
We hope that you are happy with your purchase but if that's not the case, unused, undamaged products can be returned for a refund within 30 days of receipt.
Our aim is to keep it personal. Our friendly UK based customer service team are there if you need a helping hand.

Sign up to our mailing list and get 10% off your next purchase, plus access to exclusive benefits including: